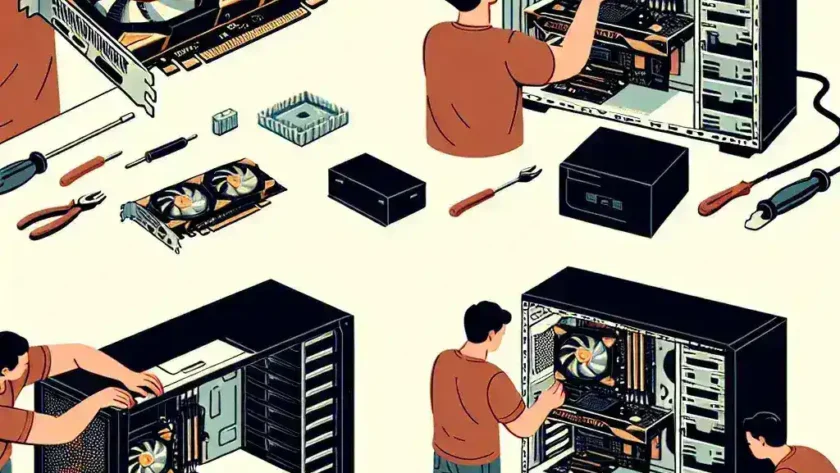
Upgrading or installing a new graphics card can significantly improve your computer’s performance, especially for gaming, video editing, or graphic design. Whether you are a seasoned computer builder or a novice, this step-by-step guide will help you successfully install a graphics card. Below are all the crucial steps, tools required, and safety precautions to ensure a smooth installation process. Let’s dive in!
Tools You Need
- Phillips-head screwdriver
- Antistatic wrist strap (optional but recommended)
- Soft, clean workspace
Steps to Install a Graphics Card
1. Prepare Your Workspace
Before you start, make sure your computer is turned off and unplugged from any power source. It is also wise to work on a hard, static-free surface. If possible, use an antistatic wrist strap to avoid any static damage to your computer’s components.
2. Open Your Computer Case
Once your workspace is prepared, you can open your computer case. Most computer cases have thumb screws or regular Phillips-head screws at the back to secure the side panels. Remove these screws and gently slide or lift the panel off.
3. Locate the PCI-E Slot
The PCI-E slot is where your graphics card will be installed. It is usually located near the bottom of the motherboard and is often the longest slot. Refer to your motherboard’s manual if you have trouble finding it.
Table: Common PCI-E Slot Colors
| Slot Type | Color |
|---|---|
| PCI-E x16 | Blue/Black |
| PCI-E x1 | White |
4. Remove the Obstruction Slot Bracket
Adjacent to the PCI-E slot on the back of your case, you’ll find a metal bracket covering the slots. You’ll need to remove the bracket(s) corresponding to the space your graphics card will occupy. Some graphics cards take up more than one slot, so make sure to remove the correct number of brackets.
5. Insert the Graphics Card
Carefully align the graphics card with the PCI-E slot and press down firmly until the card is securely seated in the slot. You should hear a click when it properly connects.
Checklist for Inserting the Graphics Card
- Ensure no cables obstruct the slot.
- The card should be aligned with the case’s rear slots.
- Push the card down evenly on both ends.
- Secure the card with screws once installed.
6. Connect Power Cables
Most modern graphics cards require additional power from the PSU (Power Supply Unit). Locate the correct power connectors (usually 6-pin or 8-pin) from your PSU and attach them to the graphics card.
Types of Power Connectors
- 6-pin PCI-E connector
- 8-pin PCI-E connector
7. Reassemble the Computer Case
Once the graphics card is securely in place and all power cables are connected, it’s time to reassemble your computer case. Slide the side panel back on and secure it with screws you previously removed.
8. Connect Your Monitor
Plug your monitor’s cable into the new graphics card. Most modern cards have multiple output options including HDMI, DisplayPort, and DVI. Choose the one that best matches your monitor.
9. Power Up and Install Drivers
Turn on your computer and install the drivers for your new graphics card. You can download the latest drivers from the manufacturer’s website (e.g., NVIDIA or AMD). Install the drivers and reboot your computer if necessary.
Troubleshooting
No Display Signal
If your monitor shows no signal after powering up your computer, check that the graphics card is firmly seated in the PCI-E slot and that all power connectors are properly attached. Also, ensure your monitor is connected to the correct output on the graphics card.
Driver Installation Issues
If you encounter problems while installing drivers, try downloading the latest version of the drivers or using the installation disk that came with your graphics card.
Conclusion
Installing a graphics card is a straightforward process if you follow these steps carefully. Proper installation can enhance your system’s performance manifold, especially for graphic-intensive tasks and gaming. Ensure you handle all components gently and keep your workspace organized. Happy building!

